 Everything you ever wanted to know about auto rotisseries will soon be revealed to you. There will be no doubt in your mind about wether you need one, if you should build one, buy one, or how to build one.
Take a look around and you will soon find out how much of an investment is required for you to purchase a finished street rod or muscle car. The values and prices of these classic cars are going up faster than ever before. Because of the prices, more and more guys are turning to building their own cars in order to save quite a bit of money.
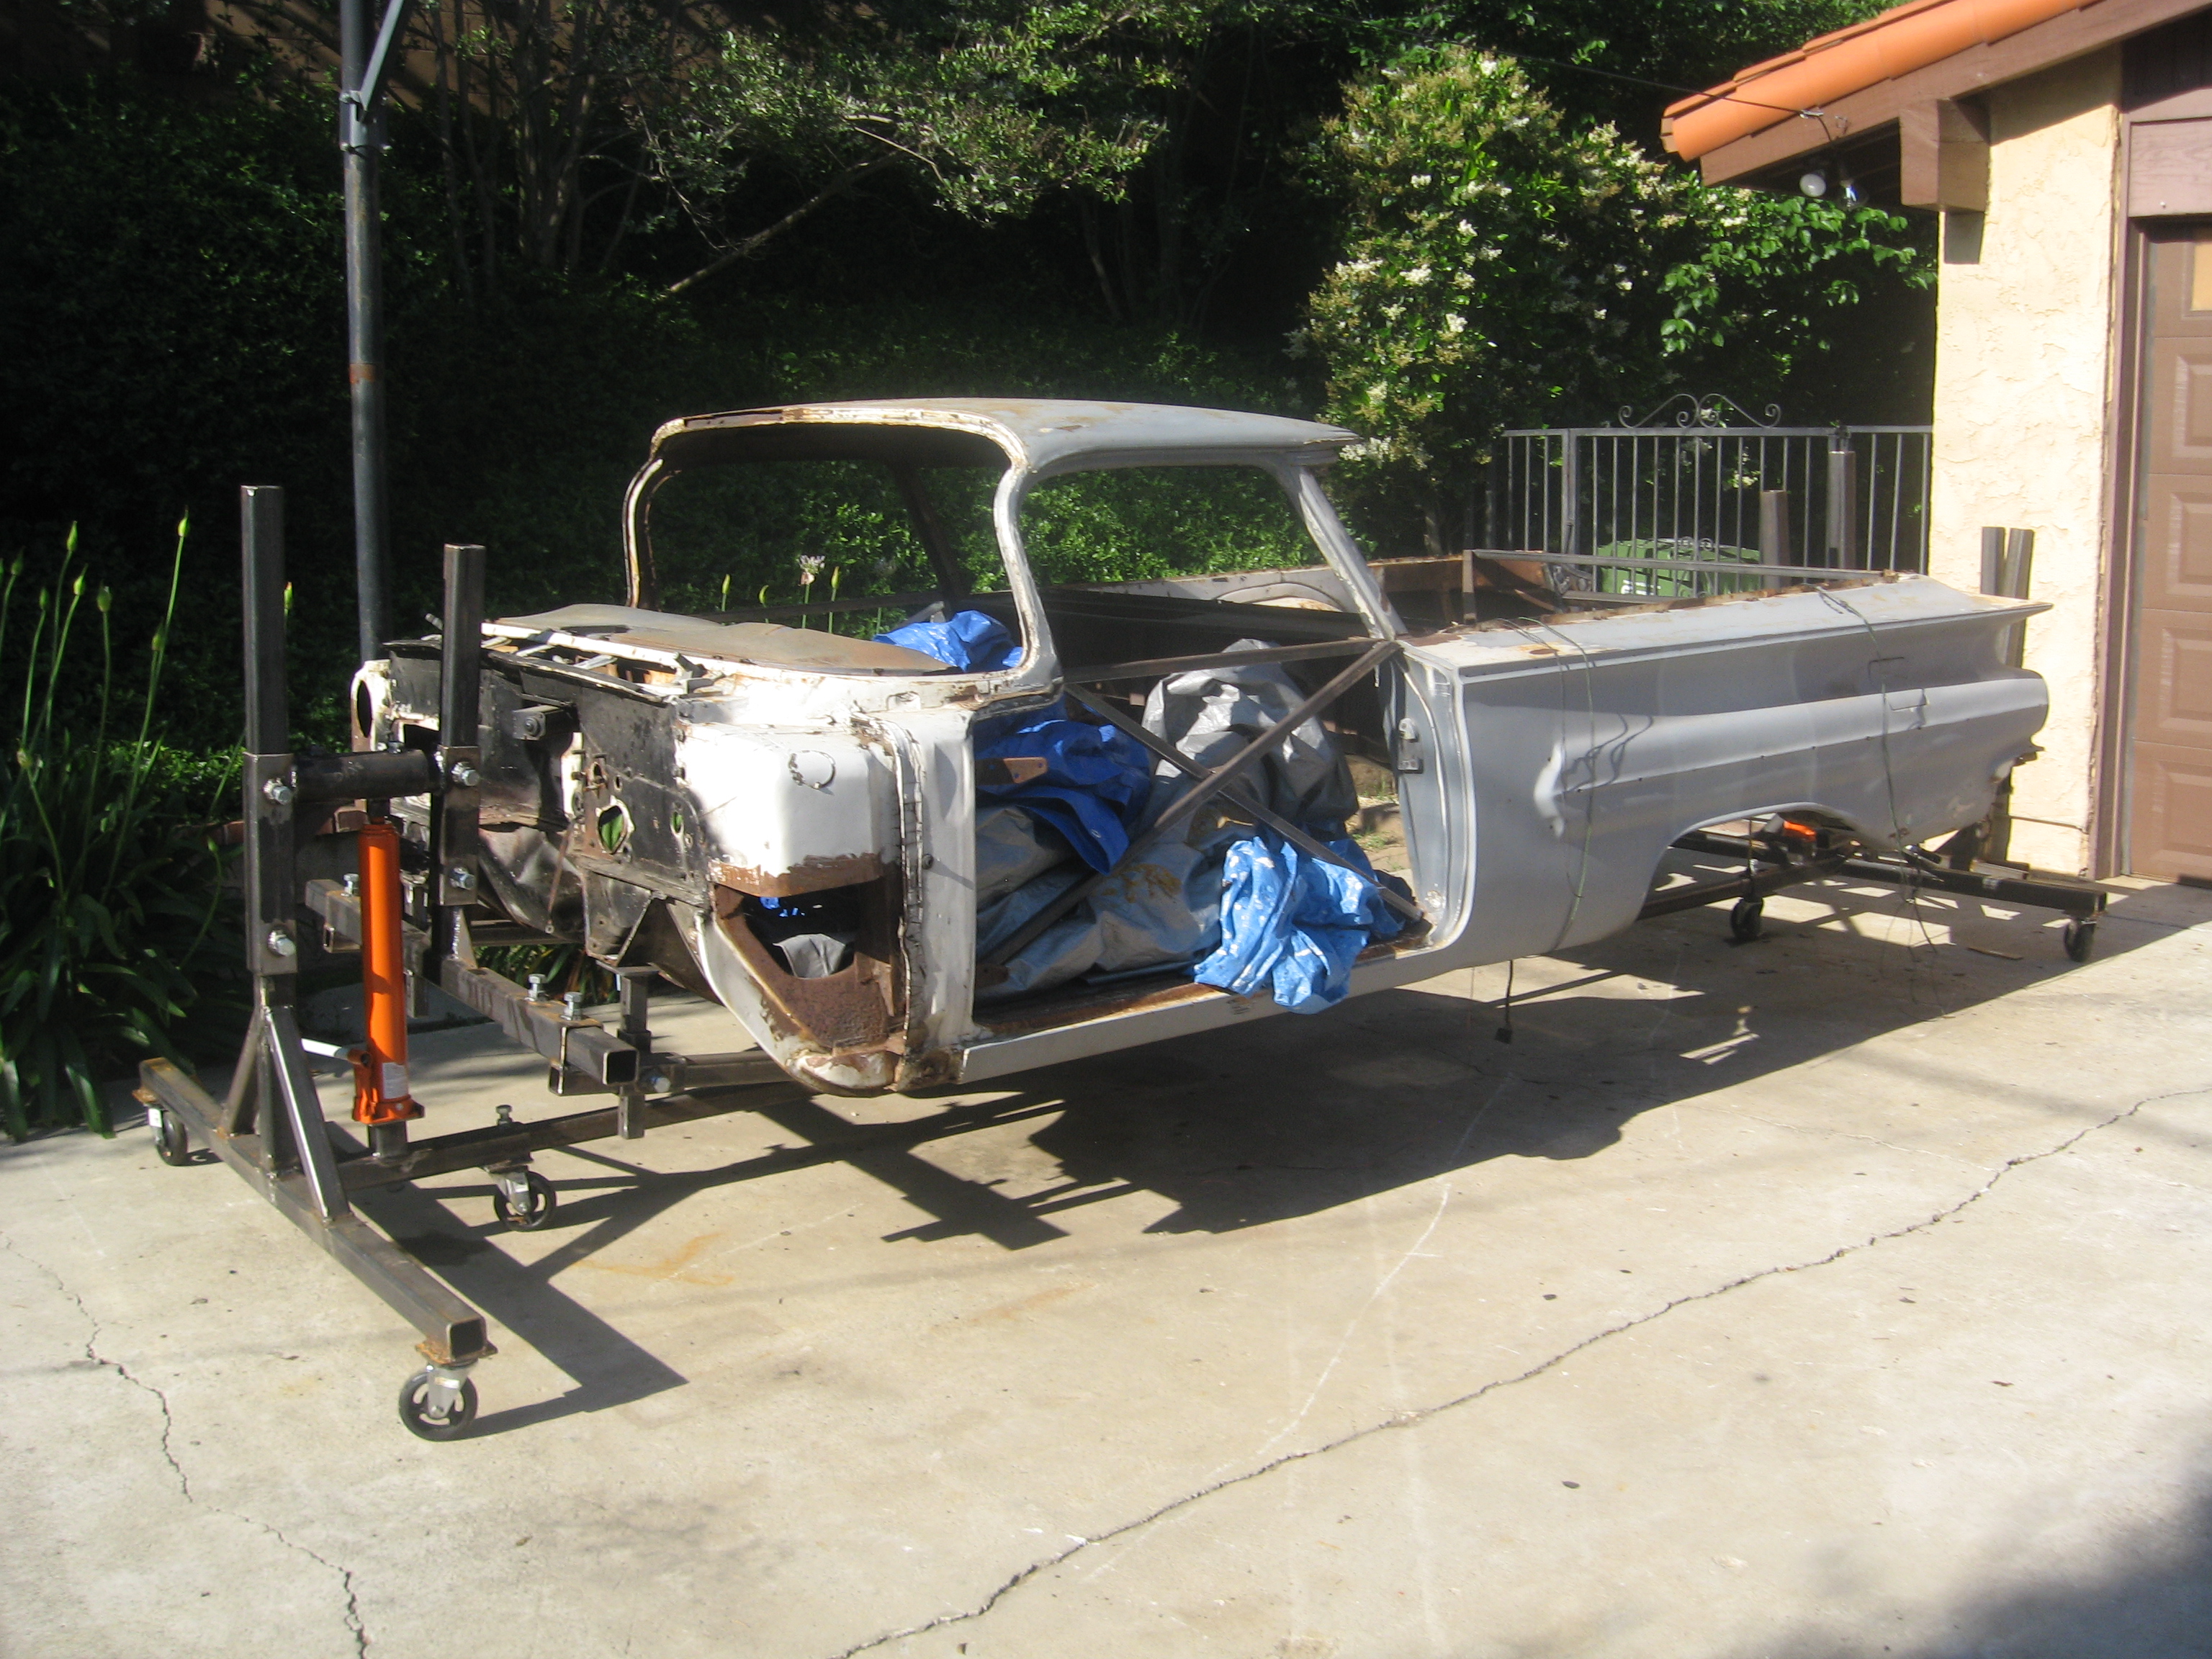
One of the best ways to build a car the right way, is to do a complete frame-off restoration. What better way to do a frame-off restoration, than with the aid of a rotisserie.
The purpose of this information is not to try and convince you that you need a rotisserie. If you didn’t already have your mind made up you wouldn’t be reading this article. The purpose is simply to let you know about what features are important to look for and what you can probably do without.
What to look for in a car rotisserie design:
Strength of materials
One of the single most important aspects of an auto rotisserie is the strength of the materials. Iv’e seen some pretty flimsy looking designs over the years. Most of the flimsy designs are for one reason only, money.
Some companies that build rotisseries try to cut costs in any way they possibly can. Two of the most common ways to cut costs are in the materials and the shipping. If you use lighter materials it’s not only much cheaper to build, but also cheaper to ship. Unfortunately, this will come at the expense of the customer buying the rotisserie. The expense comes from the added safety risk to the person working on the car as well as the car itself.
This could be argued as only an opinion, but I have always considered any rotisserie’s main frame being less than 3/16”, as cheap and flimsy. The same thing goes for all the parts that support the car directly. There can be a lot of stress on the parts that will be holding up and spinning a car.
Some guys might argue the fact that the car they are building is relatively small and light. They might figure they don’t need a big beefy rotisserie. They might be right, but I have always wondered who would complain if the rotisserie was over built? You never know if you will someday build a different car or even sell the rotisserie to someone who will. I doubt the guy buying your rotisserie will complain about it being built too strong. Why risk too light of a rotisserie for a lousy $100? That’s not to say the money isn’t important, but it is not as important as your safety or your car’s. You will get your money back at the time of resale of the rotisserie. If you do the math, you will see that the overall savings by going with lighter materials will not add up to much.
Welding
Another aspect of the strength has to do with the welding. If you are going to be building your own auto rotisserie, you need to make sure that you are able to handle the welding of it. If not, you should strongly consider hiring someone that is a good welder to weld it for you. It won’t cost too much since the welding part of the project is a relatively small part (time wise) of building a rotisserie. If you were to cut all the materials and tack it together, the actual welding time will be between 1 and 2 hours depending on the welding machine and the process.
What features are important to you?
Hydraulic Jacks
There have been many different rotisserie designs out there over the years. Some of them have some very good ideas incorporated into the design and some seem like a waste of time and money.
One of the biggest misconceptions I have seen and heard over the years is that hydraulic jacks are needed in order to find the perfect center of gravity for the car body. When you see a model with a hydraulic jack system, the only thing the jacks are for is to find a good working height of the car. It is not used to find the center of gravity so it will spin better.
I have always considered the jacks to be more of a luxury item rather than a necessity. Of course there are some cases where the jacks are needed simply for ceiling clearance issues in a garage. Nothing would be worse than to have a fixed height rotisserie and not be able to flip your car body because it hits the ceiling.
The jacks are also handy for raising and lowering the car body to a good working height for any position the car is in. You need to consider the extra cost vs. the extra benefit. After all, the car is on a rotisserie, how hard can it be to find a good position for working? Does it really need to go up and down as well as spin? If you can do without the jacks, you will easily shave $150 – $250 off of the price of building your rotisserie. That’s assuming that you wouldn’t buy the cheapest hydraulic jacks on the market. You’d be way better off not installing jacks than to buy the cheapest ones possible.
It’s also worth mentioning if your’e going to buy a rotisserie, be sure of the quality of jacks you will be getting if you order a model with jacks. Many companies will send you a rotisserie with the cheapest Chinese jacks in order to save themselves money. This will end up costing you in the form of headaches.
Balancer
Another feature I would consider to be a luxury, is a system to find the car’s center of gravity. Finding the center of gravity simply means that when the car is on the rotisserie, it will be balanced, not top or bottom heavy. You want the car to be able to spin as balanced as possible. This will make your work much easier as well as much safer.
The most common way to do this is with some kind of threaded rod installed. Once you get the car body onto the rotisserie, you can raise or lower the car in reference to the pivot point. With the jacks, the entire assembly will move. With the balancer, the pivot point will stay put and only the car body and hanger brackets will move.
I’m not saying that these systems don’t work or aren’t a good idea. I’m just saying that I don’t feel they are very necessary since you only need to find the center of gravity once. Once you find it, you’re not going to move the car, so why do you need a fancy system for doing it? The center of gravity can be found quite easily with nothing more than a floor jack and a block of wood. I’m sure that if you look around your garage or shop you will find those 2 items. This may seem a little primitive, but why spend the extra time and money on something you will only use once per car you restore.
I can get an argument from guys either way on this, but my feeling is, if you have the money go ahead and build/buy it. If not, don’t. This holds true for most of the design options available.
False frame
One option that has more to do with the condition and strength of your car instead of the rotisserie itself, is the “false frame” or “substitute frame”. A false frame is nothing more than a fixture for your car to sit on for support. It acts like a frame, but it provides a greater amount of separation than your car’s frame will. In other words, you will have more clearance between the car and the false frame than you would with your car’s frame. This will make it easier to repair body mounts and other problem areas of the bottom of your car.
The reason for using the extra support is if your car is in too rough of shape to support itself before repairs are made. Convertibles can also use this extra support since there is no help from any roof support. Obviously unibody cars shouldn’t need this extra support, and if they do, I would think about finding a different car to restore.
Safety stop
This seems to be a popular selling point for many rotisserie manufacturers. Usually this is some kind of a spring loaded pin that will slip into a hole or a notch to hold the car from spinning when it is on the rotisserie. The idea is a pretty good one and I’m certainly not against increasing the safety of a rotisserie, but I’m just not sure of why you would need this if you take the time to get your car balanced in the first place.
A quicker and easier to build option would be to just install a set screw or pinch bolt to stop the rotation. If you use a pinch bolt, everything is going to be nice and tight when you are working on your car. If you use a safety latch, you will still have some play in the mechanism itself. If you have a hole that is only a 1/16” bigger than the pin, that will translate to a few inches of movement at the outside of the car body.
Storage
Being able to easily break the rotisserie down for storage is a definite plus in my opinion. Some models do this better than others. The only thing I would watch out for is that the design of the rotisserie doesn’t suffer for the ability to be broken down easily. In other words, if some of the parts that should be welded are bolted instead, just for storage, I would look for a different design.
One manufacturer has stated that the main frame of their rotisserie is bolted together for easy storage. I can’t really say that this is wrong or weak, but I have always liked welding parts as important as that.
Casters/tires
Here is an option that completely depends on the surface you will be working on. There are no right or wrong opinions about what you need for casters or tires. The only thing that I will warn against is buying the cheapest tires you can. You need to be sure that the tires will take the weight of the car body as well as the rotisserie.
The most common sizes of tires are 10” and 12”. The most commonly used casters are 6”. If you are absolutely certain that you don’t need to move the rotisserie around, you can probably get by without using anything. Just make sure to factor in the height difference you will be loosing. You would hate to mount your car on the rotisserie only to find out that it hits the floor when you try to spin it.
Center connect
A center connect is simply the tubes that run between the 2 halves of the rotisserie end frames. This is an important feature to have since it will keep the end frames connected by more than just your car. Without the center connect, your car body will be the only thing holding the rotisserie halves together. There is also the risk of the end frames wanting to tip over if your car is rather heavy or the body mount brackets are too long.
Some manufacturers offer rotisserie models that don’t include the center connect for a cheaper price. Just beware of what you are doing if you don’t have this installed. I feel it is important to use the center connect just for the added insurance.
Body stiffener
A body stiffener is a tube or pipe that connects the 2 halves of the rotisserie end frames together over the top or through the windshield and back window of the car body. I can see the theory behind this, but have never built one or thought that it was that necessary. My feeling is, if the car can’t support itself somewhat, you should do a frame on restoration or use a false frame.
Pivot point bearings
There is no question that using bearings as a pivot point would make it much easier to spin a car body. A pipe inside of another pipe adds much more friction than bearings would. There are 2 schools of thought on this subject. If you decide to go with bearings, you will definitely need some sort of a latch mechanism to stop the car from spinning. If you use the bearings, you just added quite a bit more cost to the project.
I have never had any trouble spinning a balanced car using a pipe pivot point. The amount of leverage you have at the outsides of the car far outweigh the added friction you get from using pipe. Using bearings seems like a bit of overkill for a problem that doesn’t exist. Bearings are used on parts that need to spin many revolutions over the life of the part. How many times are you expecting to spin the rotisserie over the course of your restoration? Even if you were going to spin the rotisserie 2,000 times, it still wouldn’t even come close to wearing out pipe.
Mounting arm length
Having too short or too long of mounting arms offers up a different set of problems. Too short makes it hard to get between the rotisserie and the car body to do your work on the front or the back. Too long will make the end frames want to tip forward increasing the stress on both the rotisserie and the car body. I’m a big fan of making the mounting arms adjustable to find that happy medium for any car.
Endless amount of accessories
There is no shortage of accessories to go along with a rotisserie. Some companies will lead you to believe you will need everything under the sun in order to work on your car. This is something that you will need to decide on your own since every car is different. Just be aware of the added costs these accessories will add up to if you are going to buy a rotisserie.


