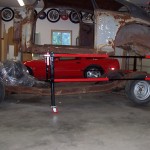
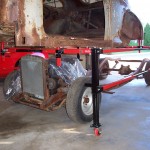
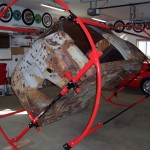
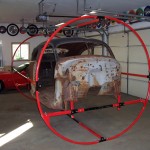
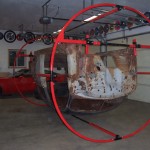
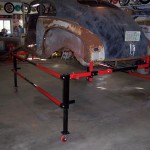
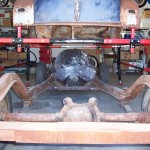
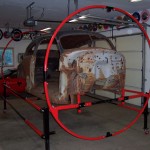
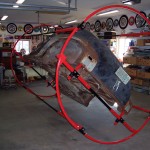
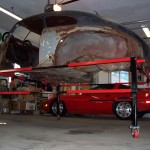
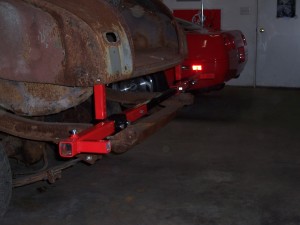
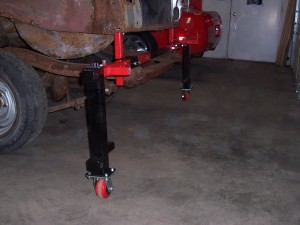
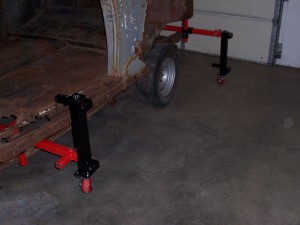
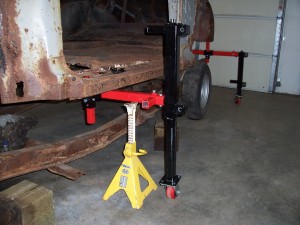
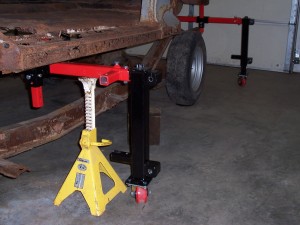
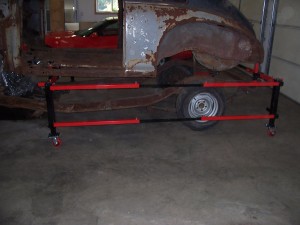
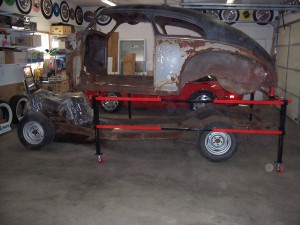
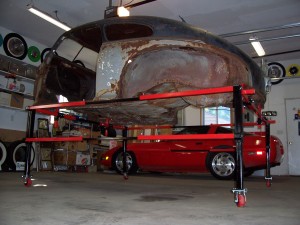
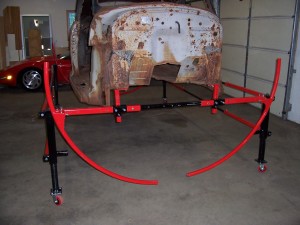
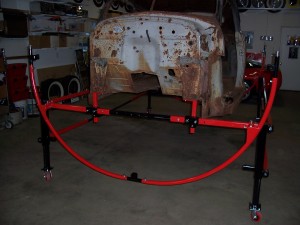
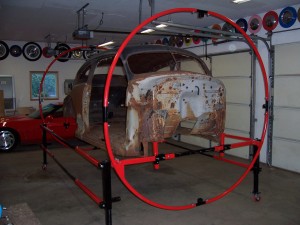
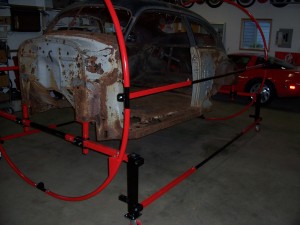
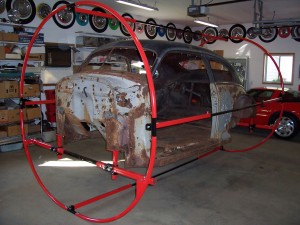
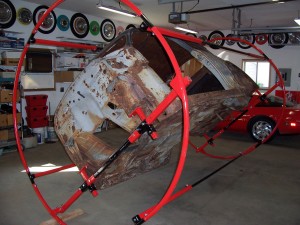
As you can see in the photos, this unit has a big advantage if you need to work on the rear or the firewall. Also note just how high the body lift actually goes. You could sit in a chair to repair body mounts. The entire unit breaks down for easy storage.
Body lift and roller step by step instructions.
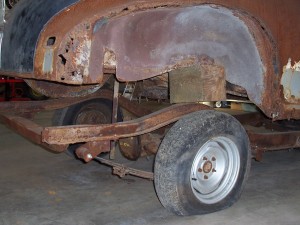
Block the car up off the frame 6”.
We recommend 6” in order to have enough clearance to install the body
mounts and the main beams.
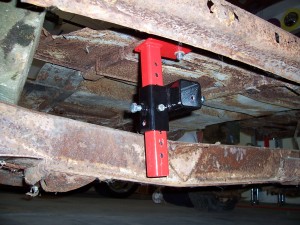
Install the 4 body mounts along with the body mount blocks.
Make sure to use body mount locations on your car that are in good
enough shape to support the car when it is on it’s side or it’s top. If your
car’s body mounts are rusted out you will need to repair them first or find
different ones.
Also make sure that the car will not be front or back heavy when you find
a good mounting location.
The body mounts as well as the blocks are made to face any direction in
order to work around objects such as the frame.
The body mounts and blocks must hang straight down. A series of washers
or wedges may be needed for some cars in order to achieve this.
Use a 3/8” x 3” bolt, nut, and lock washer to set and secure the height of
the body mounts.
Do not tighten any bolts at this time.
When installing the main beams, slide one half beam through the body
mount block. Then install the main beam insert from the other side of the
car. Then you can go ahead and put the second half beam through the
other body mount block.
Remember that if you are going to be using the hoops, the total width of
the main beam should be 7’ from the outside to the outside, in order to
hook up the hoops correctly.
It is best if the hoop hook up pegs stick away from the car as shown.
Be sure to have the main beam insert centered between the two main beam
halves, in other words, you want the same amount of steel inside each half
for the greatest strength.
Make sure to have the entire main beam centered side to side, inside the
body mount blocks as well.
As a reminder, everything should be hanging straight down from the body
mounts, so when the legs are attached they will be perpendicular to the
floor and won’t put undo stress on the car’s body mounts.
Install the casters using 3/8” x 1” bolts, nuts, lock washers, and flat
washers (on the slotted holes).
In the case like this picture, the car is already high enough off the ground
to install the legs (using the top peg of the legs) into the main beams.
Make sure the legs are facing the right direction in order to receive the
stabilizer bars into the couplers on the outside of the legs. (2 of the legs
are made opposite in order to make that happen).
Use a 1/2” x 3” bolt and nut to install the legs.
Tighten all bolts, especially the pinch bolts.
In this case the car body is too low to the ground to install the leg with the
top peg. This is when you would want to use the bottom peg.
Use a 1/2” x 3” bolt and nut as well as the pinch bolts, and tighten them.
Once the leg is installed, you will telescope the leg all the way up.
Make sure the other end of the car is still resting on the blocks and not on
the legs.
As a reminder, make sure the car’s body mounts are in good shape and
that all the bolts are tight.
Alternate from side to side, lifting only a few inches at a time in order to
keep the car as straight as possible.
Keep 2 jack stands under the main beam at all times just in case the leg
would tip from side to side. It would also be a good idea to either block
the casters or remove them for this process.
Now you will want to put the jack stands under the main beam and retract
the leg all the way.
Now you have the car body high enough to put the top peg of the leg into
the main beam.
Don’t forget to tighten all the bolts.
Now before you raise the legs, you will want to install the stabilizer bars
into the couplers of the legs.
It is important that this be done before you raise or move the car body so it
won’t rely only on the body mounts to keep the legs from tipping forward
or backward.
Secure each end of the stabilizer bars with a 1/2” x 1” bolt, nut, and lock
washer.
Tighten all bolts including the pinch bolts in the middle of the bars.
Now the legs can be telescoped up and the body moved around.
Try to raise the car as evenly as possible, by raising each leg only a few
inches at a time.
The legs were built to sustain the force of an impact wrench, so if you
have one go ahead and use it.
I’m sure you’ve figured it out, but in order to raise the leg you must turn
the nut counter clockwise.
Now the body is completely accessible for any work that needs to be done
at this stage.
This is the end of the body lift assembly. The next steps are to install the
roller.
Install the 4 hoops as shown, onto the pegs of the main beams.
Use 1/2” x 3” bolts and nuts.
Do not tighten bolts.
Next you will want to install the hoop connectors as shown.
Make sure the coupler on top is facing the right direction in order to
receive the stabilizer bars.
Use 1/2” x 1” bolts, flat washers, and lock washers.
Do not tighten bolts.
Now install the top 4 hoops along with the last hoop connectors.
Tighten all bolts including the pinch bolts on the hoop pegs.
Take only the top 2 stabilizer bars off the legs and install them into the
hoop connectors on the side of the car.
Then tighten the bolts for the stabilizer bars you just installed.
Now you can take the other 2 stabilizer bars off the legs and install them
into the hoop connectors.
You can now lower the legs and remove them. Do not roll the legs
without any stabilizer bars connected to them.
Now go ahead and tighten all the bolts.
The hoop connectors act as a natural stop to keep the car from rolling. If
you want the car at a different angle it might be a good idea to block the
roller with a 2×4 or something else. As you can see in the picture that
works pretty good.
Now you’re finished with the installation. To take it apart, obviously do all
the steps in reverse.
